Pisound Acrylic Case
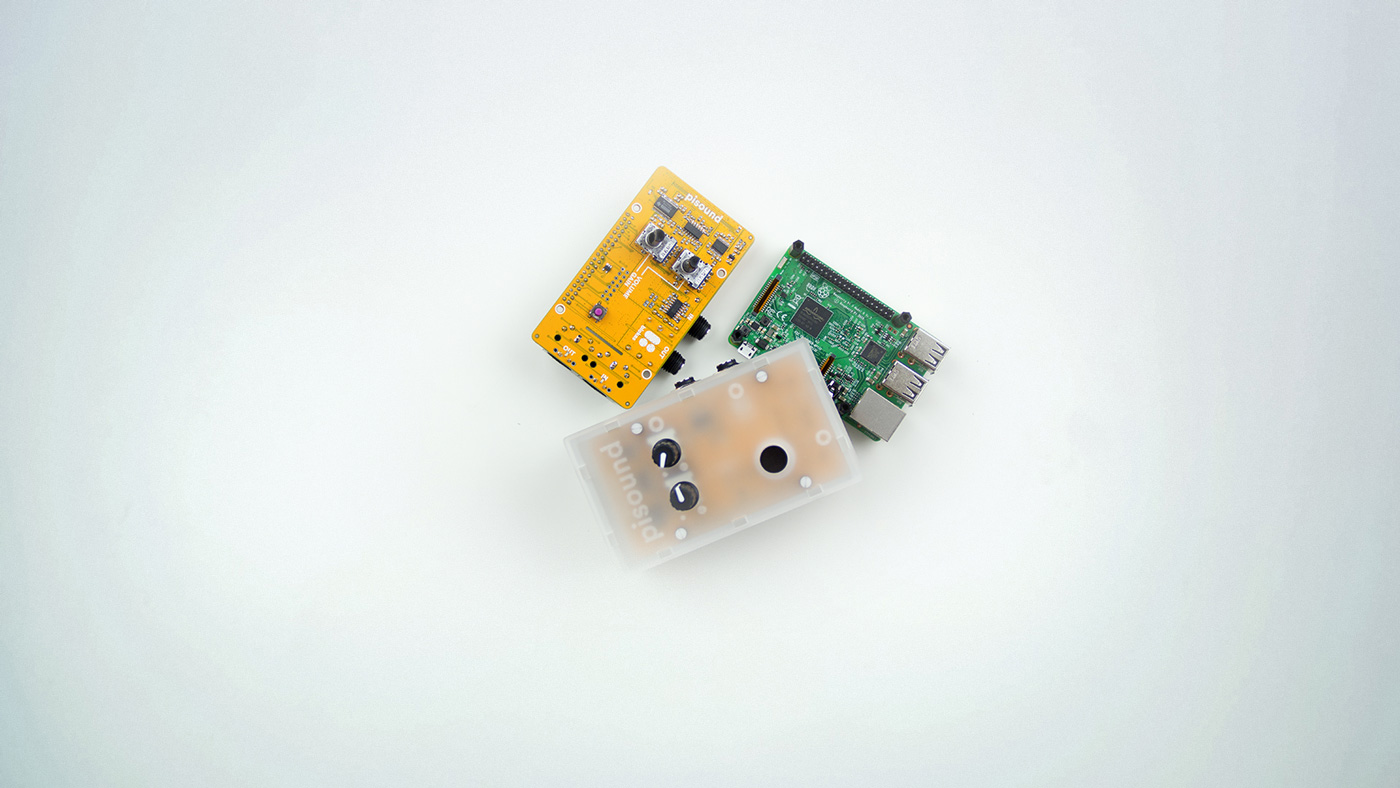
A simple but really sturdy and beautiful case for your Pisound and Raspberry Pi. The enclosure is cut from semi-transparent 3 mm thick acrylic sheet with cutouts for the Output ports and the Volume and Gain potentiometers.
The Pisound Acrylic Case consists of 3 cutout sheets of the enclosure sides and a plastic bag containing 4 short spacers, 4 longer ones and a button cap. The case comes with 2 variations of the side with all of the connectors - one for use with Raspberry Pi versions 4B and 5, the other is for Pi's 2B and 3B. Make sure to use the correct one for your Raspberry Pi.
@mzero, a member of Electric Kitchen project has made a great detailed Pisound Case assembly video.
Assembly Instructions
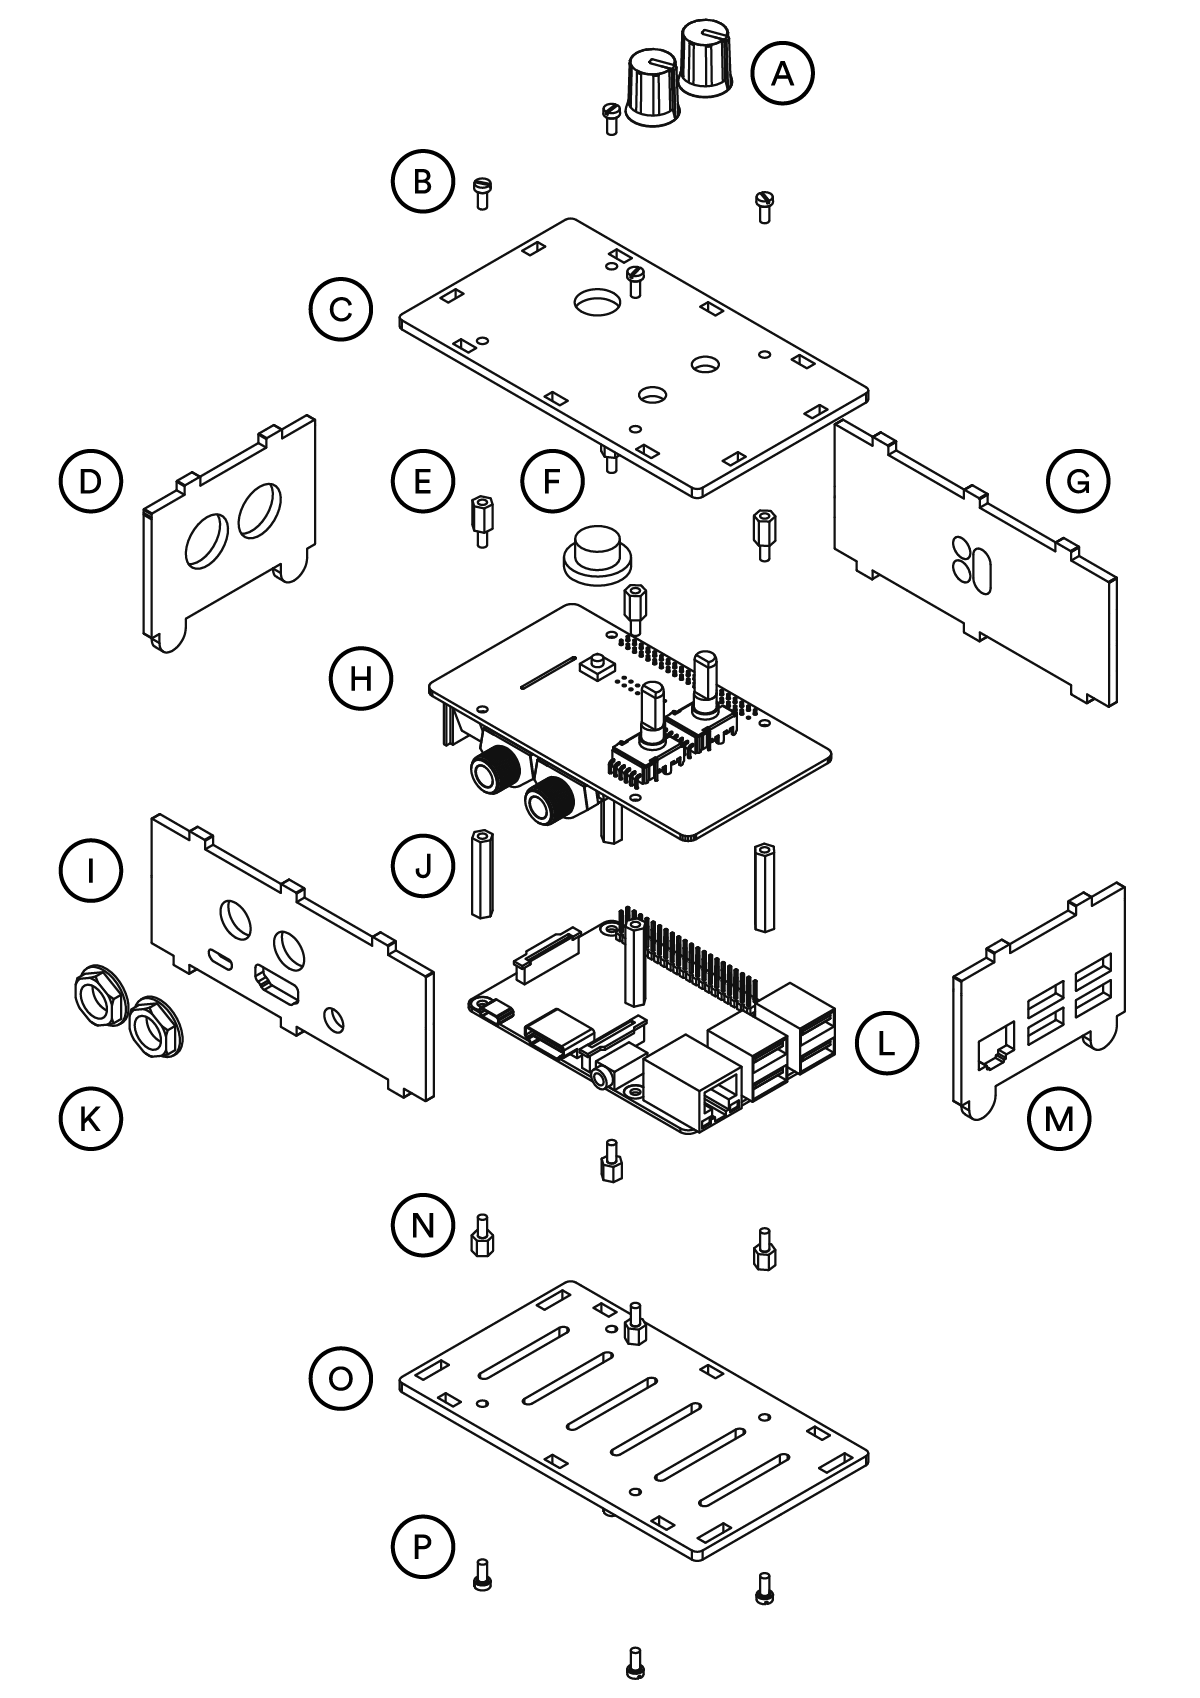
- Peel off the protective film from all of the acrylic parts.
- Screw the 25 mm Pisound standoffs (J) to the shortest 5mm standoffs (N) leaving your Pi (L) sandwiched in between.
- Mount the Pisound board (H) on top of the Pi (L) and fix it with the 8mm standoffs. (E)
- Mount the jack side of the case (I)1 and screw the jack socket nuts (K). The jack socket washers should be on the outer side of the case.
- Attach the bottom side of the case (O) and fix it with the Pisound 6mm screws. (P)
- Slide the MIDI ports side (D), USB ports side (M)2 and the headers side (G) into the bottom part of the enclosure. Engravings should be facing the internal side.
- Place the top side of the case (C) on top of the construction leaving the button cap (F) in between.
- Screw the remaining 4 screws (B) and push the knobs (A) on.
-
Use the correct piece depending on your Raspberry Pi version. For Pi 4, you will have to punch out the hole for the 3.5mm audio jack on the Raspberry Pi 4 board. Either use the tips of your fingers to budge the pre-cut hole cap out, or use a small object to punch it out, please mind your fingers to avoid any injury. ↩
-
It may have to be flipped horizontally depending on your Raspberry Pi version. ↩
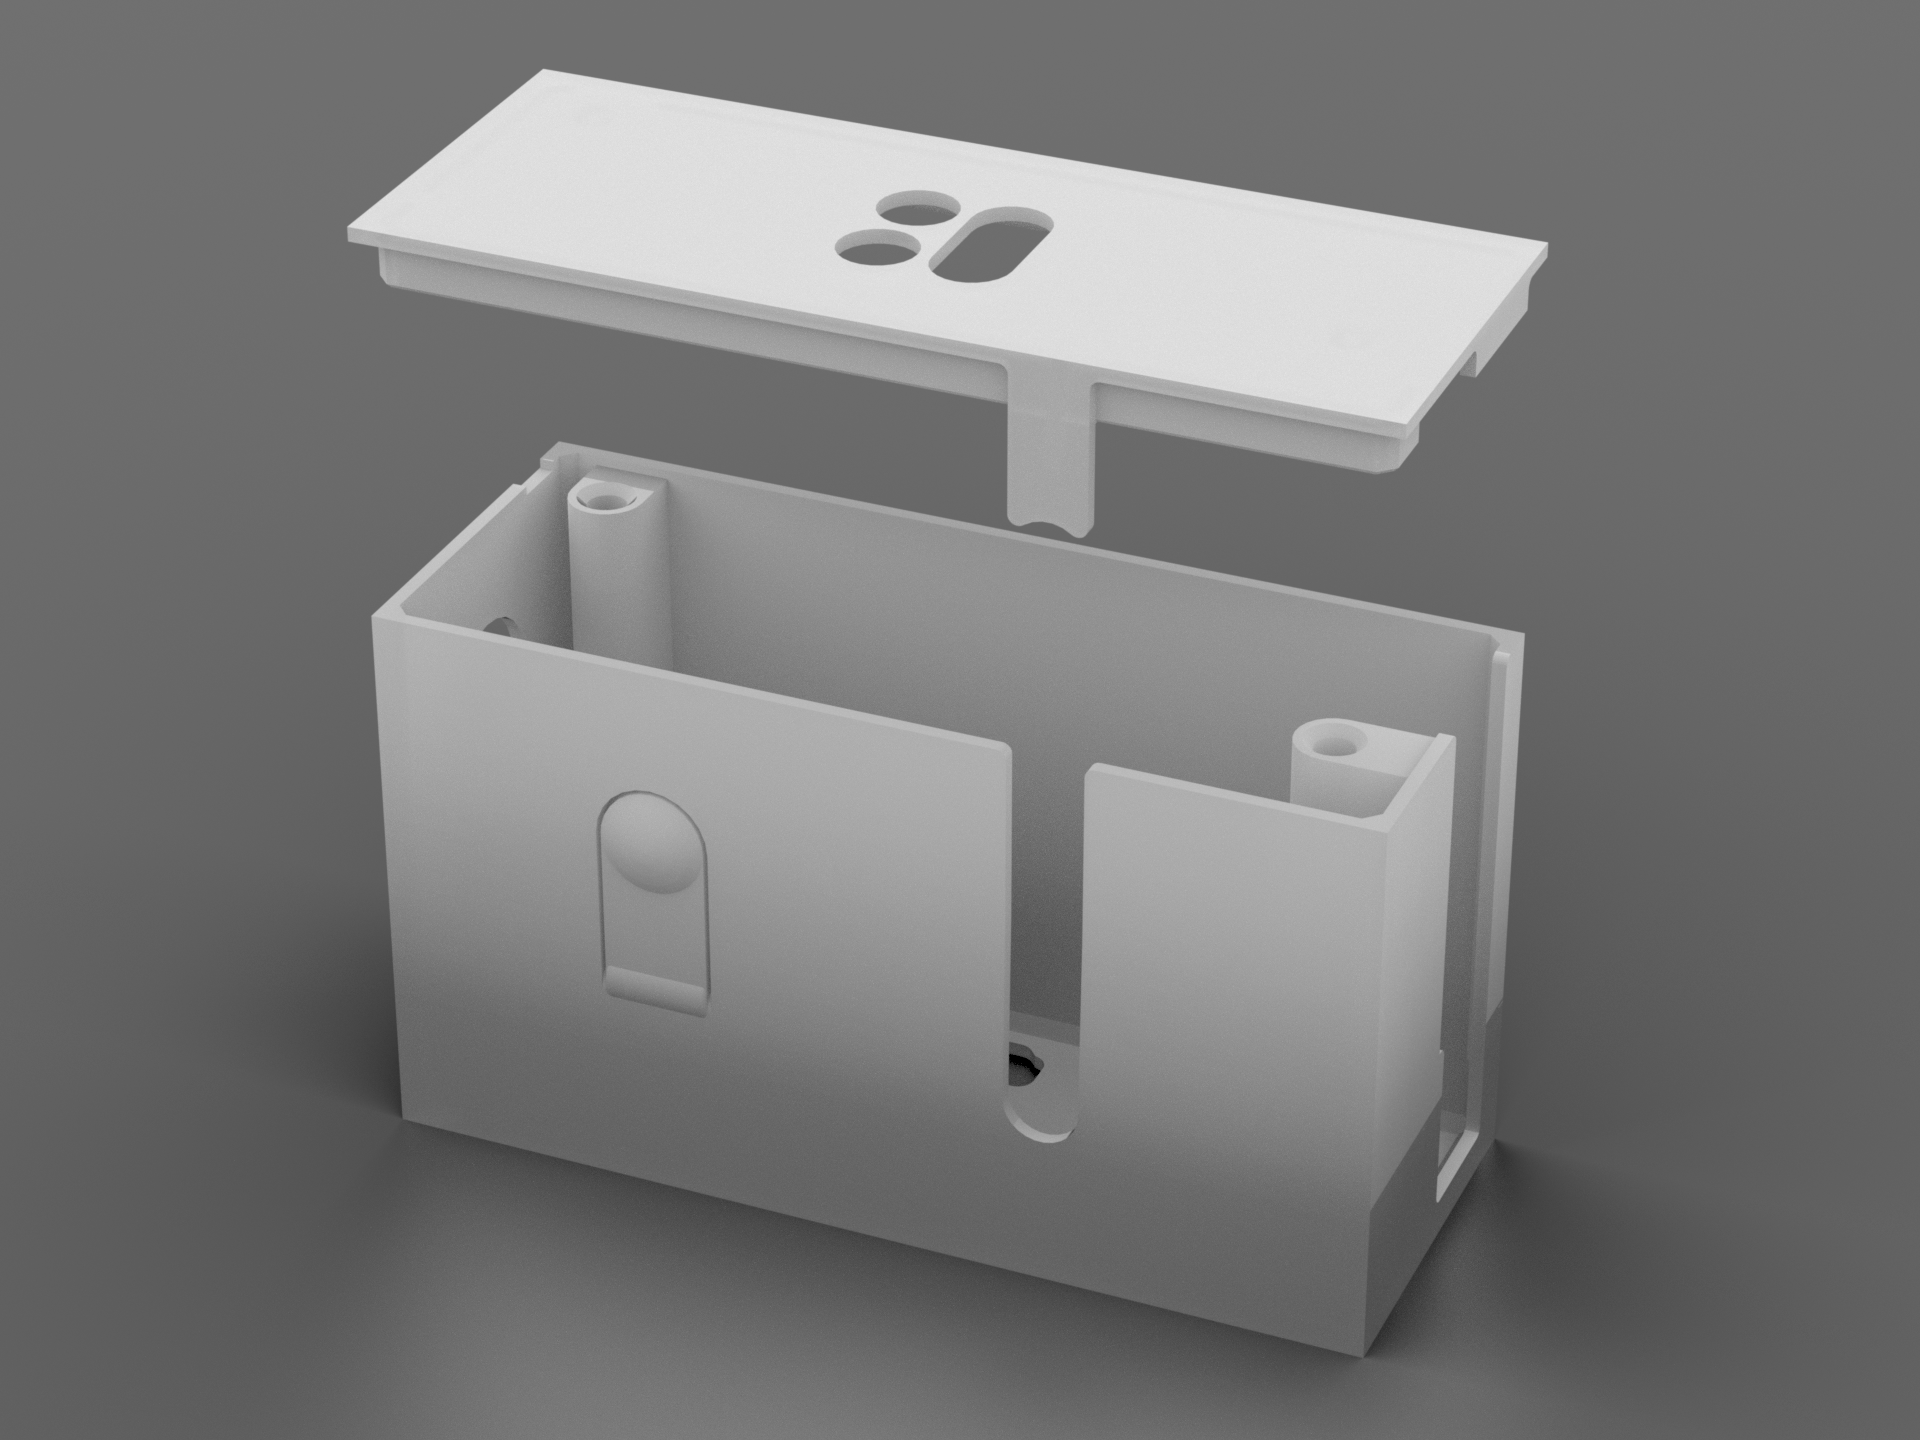
Print Your Own Case (Deprecated)
You can also 3D-print your own case. All necessary files can be found here. Only Raspberry Pi 2B and 3B models supported.
Comments & Questions
For more tips & tricks join our community forums! 👋If you have any questions about the information on this page let us know below! 👇